

 First I'd like to show you how I imagined the car to look... as you may notice, my husbond had a LOT of fun making corrections... but what can I say?!... I'm not a car expert:)
 Let's get started: First you have to make a cake stand out of plexiglass and wooden sticks. To sticks is placed to fit 10 cm wheels.
 Wash your cake dish and cover it (the parts the will come in contact with cake) with cellophane.
 Make the cars sidewiev mirrors one day in advance.
 Place cake on your cake stand and carve your car. Cover the cake with buttercream - the more smooth you apply the buttercream - the better your result will be.
 I airbrushed the lower part - it is important to remember that; if you wanna airbrush buttercream, do it right after you apply the buttercream. If the buttercream is cold and hard, your airbrush colours will form "water-drops" and the result will be ruined.
Cover your sticks with black fondant.
 Now for the wheels: make a rice krispies treat. If you want it coloured, apply your coloures right after you mixed butter and marshmellows.
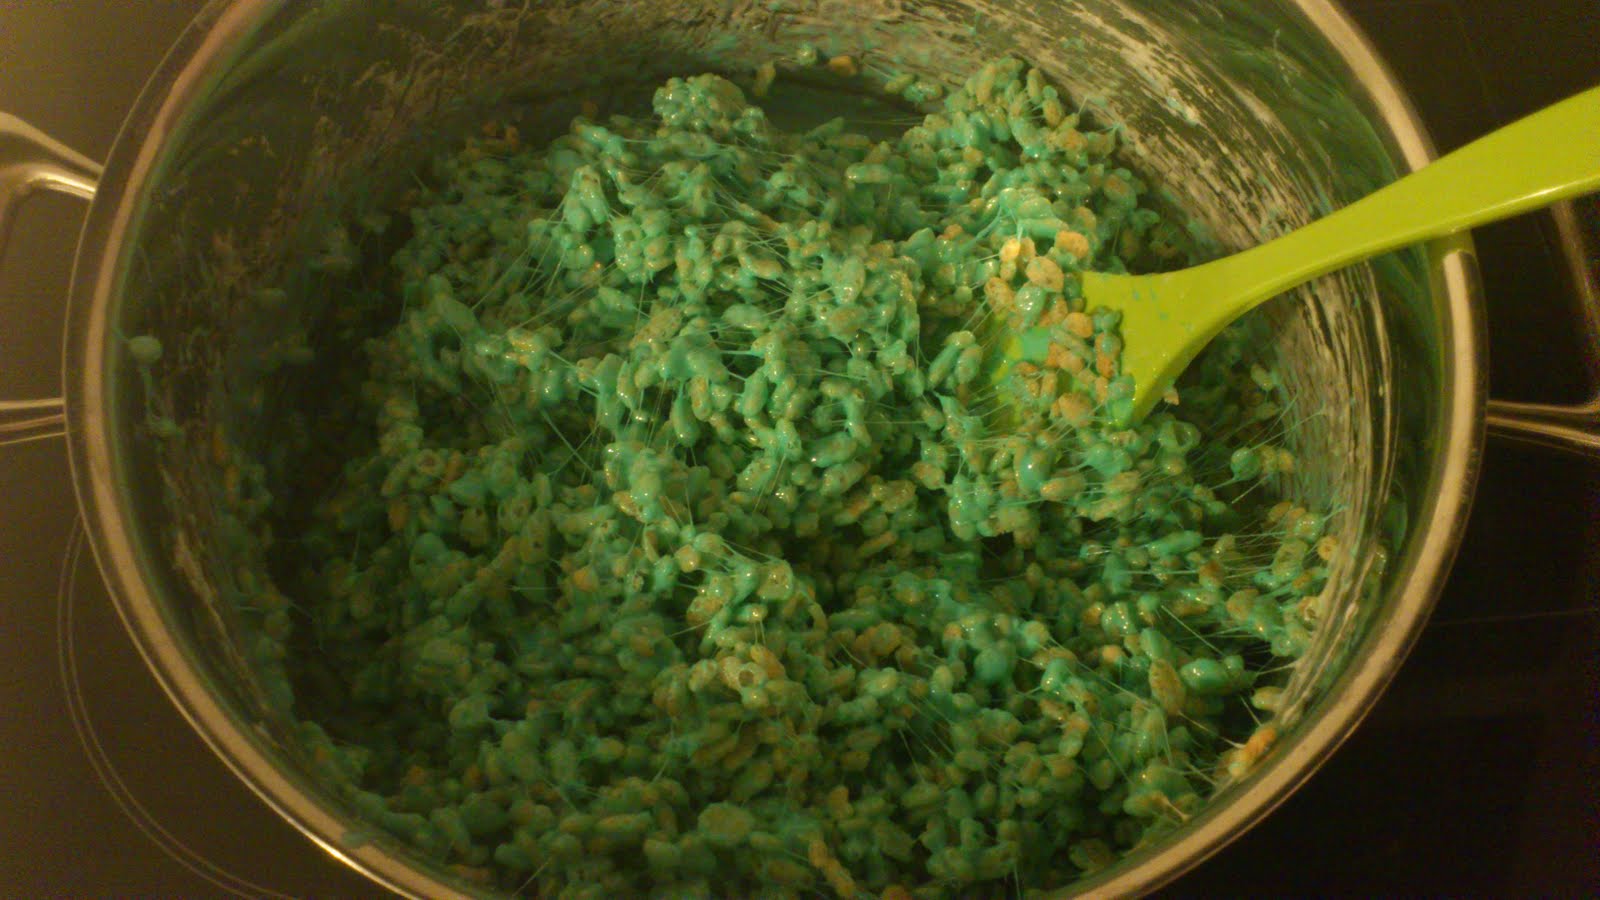 Now, apply your rice krispies treat and stir until well mixed. Some pointers on how you mould the RKT easy would be to use plastic gloves and a lot of icing sugar on your table.
 To make the wheels more realistic, I've molded some blue modelling chocolate and applied on the sides. Now all you need is to cover the wheels with black fondant. Take a metal wire and put it through the wheel, so that you can bind it to the sticks on your cake plate.
 I've used thin cake dowels, wires and floral tape to make thees - sorry but I don't know what they are called, but it is the things that cars have underneath it... :) Hope you know what I mean:)
 The "legs" are flexible, so it can easily be placed underneath the car. When you have placed this under the car, paint it with eadible silver.
 Cover your car with fondant and decorate:)
This is the most simple cake tutorial for a truck that I have come across. Thank you so much for posting it!
ReplyDelete