Friday, October 28, 2011

Spooky cookies:)

Hi, Here's some Gost Halloween cookies, decorated with royal icing using run-out technique.
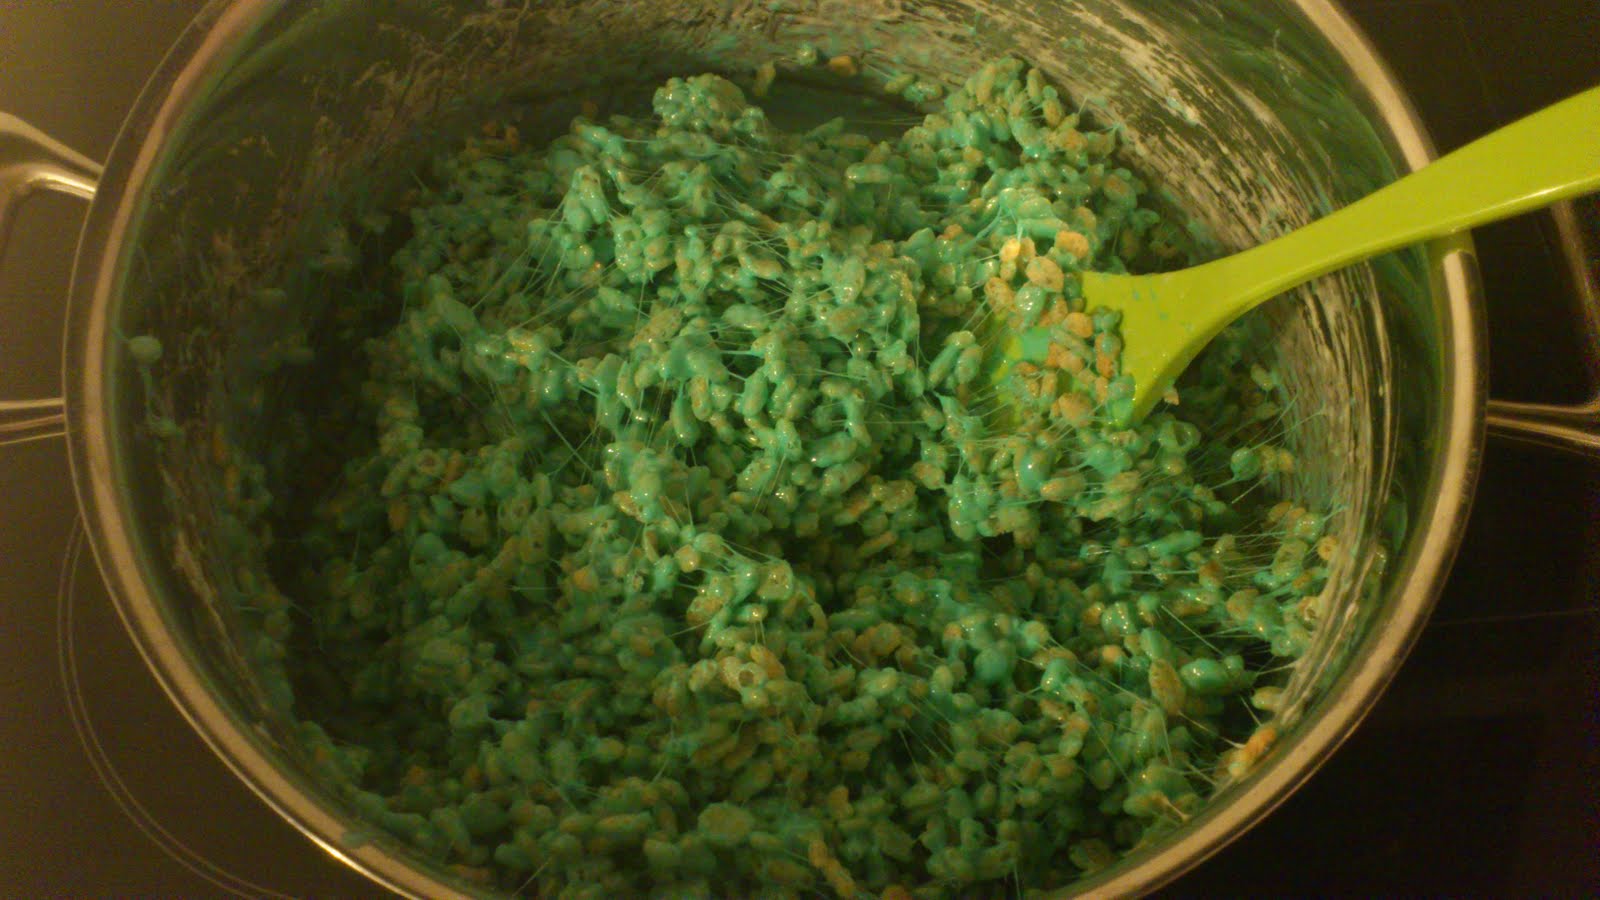
First; make your sugar cookies. I make mine about 5-6 mm high. Then make your royal icing mixing:
Sifted icing sugar
Pasteurized eggwhites

A little bit of lemon juice.

Make royal icing of firm consistency and make a fine line at the outer edge of your cookie. Fill the cookie with royal icing medium consistency in a zig-zag patter - don't worry, the holes will fill out, IF it doesn't; just take a toothpick and smooth the icing all the way to your icing-border.
Tip:
- bubbles: Take your tooth pick and remove bubbles. The bubbles comes from preparing the icing if you whip the ingredients to roughly.


For the eyes: Use the same consistency as the white RI; medium consistensy. Don't worry if it doesn't sink into the white RI just at once, give it about 8-10 sek.


Halloween cupcake step-by-step

Hi! Here's some Halloween cupcakes that's easy to make, and with a great result. Hope you'll have fun making them.

Here's the final result; Monster Eyes and Mummies:)


First; the monster eyes: I used the tool showed to make the iris, and a glass to make the cupcake top.


TIP: This picture is just to show you a little trick when you have to paint the details; I use some foil to mix my dust-coloures with alcohol. Its easy and a cheep way to create your own paint pallet.


I used dust colour to paint the iris and red background in the eyes. Afterwards I used a toothpick to paint the vaines in the eye.

Now to the eyelid: Use a drinking glass to cut the eyelid - a cookie cutter will do just as fine.


Now: shape and fold.


And add details, and voila; Monster eyes.

For theese Mummie Cupcakes, all is needed is pictures: The bandage is icing medium-hard consistency. Eyes and body: Coloured fondant.


Wednesday, October 26, 2011

How to make a 3D Monster truck

Hi, everybody:) I hope you'll have just as much fun making this monstertruck as I did. I made this cake for a little boy who turned 6 years some weeks ago; he wanted a cake with raspberry and vanilla cream, and he loves monstertrucks!!!

First I'd like to show you how I imagined the car to look... as you may notice, my husbond had a LOT of fun making corrections... but what can I say?!... I'm not a car expert:)


Let's get started: First you have to make a cake stand out of plexiglass and wooden sticks. To sticks is placed to fit 10 cm wheels.

Wash your cake dish and cover it (the parts the will come in contact with cake) with cellophane.


Make the cars sidewiev mirrors one day in advance.


Place cake on your cake stand and carve your car. Cover the cake with buttercream - the more smooth you apply the buttercream - the better your result will be.


I airbrushed the lower part - it is important to remember that; if you wanna airbrush buttercream, do it right after you apply the buttercream. If the buttercream is cold and hard, your airbrush colours will form "water-drops" and the result will be ruined.


Cover your sticks with black fondant.

Now for the wheels: make a rice krispies treat. If you want it coloured, apply your coloures right after you mixed butter and marshmellows.

Now, apply your rice krispies treat and stir until well mixed. Some pointers on how you mould the RKT easy would be to use plastic gloves and a lot of icing sugar on your table.


To make the wheels more realistic, I've molded some blue modelling chocolate and applied on the sides. Now all you need is to cover the wheels with black fondant. Take a metal wire and put it through the wheel, so that you can bind it to the sticks on your cake plate.

I've used thin cake dowels, wires and floral tape to make thees - sorry but I don't know what they are called, but it is the things that cars have underneath it... :) Hope you know what I mean:)

The "legs" are flexible, so it can easily be placed underneath the car. When you have placed this under the car, paint it with eadible silver.


Cover your car with fondant and decorate:)

Sunday, October 2, 2011

Geisha cake


Cake:

turqouise colour (mixed blue and green) and silk ribbon.


Royal icing surrounding the picture:

Wilton tip no.362

Wilton tip no.65 (coloured antique gold)

PME tip no.42 (mixed colours pink dust (squires kitchen) and metallic morrocan velvet (rainbow dust).


Bas relief geisha tutorial

This tutorial shows how to make a bas-relief geisha. The background is handpainted on fondant http://cakefairytales.blogspot.com/search/label/Handpainted%20fondant


First step is to figure out what size the geisha should have to fit on top of the handpainted fondant. I took a piece of paper and cut it up to fit the size of the painting.


Take a piece of baking-paper/see-though-paper and apply on top of your drawing. Place a tiny bit of fondant, and shape it to fit your drawing. Make it about 0,7 cm thick.


Use your pencil-tool to make eyes and cheekbones.


Now, make the body, starting with the neck.


Now the fun part begins:) Roll fondant (about 1-2 mm thick) and place it over the face and body. The skin-coloured fondant should cover both head and neck to make the best result.


Make arms and hair. Remember that the arm facing the painting/ background should be flat and smaller than anatomical correct arms.


Now my favorite part: handpainting the figurine:)


Lift your geisha with a spatula, add a little water (as glue) on the back, and place it on your background/ painting. Voila - you're done:)


Handpainting

The top of my cake isn't completely round, so to make a template, I used baking paper and a permanent marker to make my template.

Roll out a 0,5-0,7 cm thick white fondant. I use Wiltons fondant mixed with gumtex.
Let it dry for minimum 5-6 hours.


First step is to make a sketch to see if the thougt position is correct. The bird is painted outside the drawing, because I thougt of making this later.


I'm not a painter, but this is how I think the end result compliments bas-relief technique the best. The foreground should be painted in dark colors. The further away things are (such as the mountains) the lighter/ brighter they are painted - this is achived by shifting the color:alcohol ratio.